Most preppers have food, water, and medical supplies dialed in — but almost no communication plan beyond a cell phone and maybe a weather radio still in the box. HAM radio EMP survival planning fills that critical gap. When an electromagnetic pulse — whether from a nuclear detonation at altitude, a solar coronal mass ejection, or a directed-energy event — hits the grid, it doesn't just kill the lights. It systematically collapses every layer of modern communication infrastructure. Cell towers lose power within minutes. Landline switching equipment fries. Satellite uplinks dependent on ground-based routing go silent.
HAM radio — when properly protected, powered, and operated — is one of the few systems that keep working after all that fails. This guide covers exactly how to select, protect, power, and operate a HAM radio setup built specifically for collapse scenarios. Not for casual hobby use. For the real thing.
How an EMP Actually Affects Radio Equipment
An EMP isn't a single wave — it's a three-phase attack on electronics. The E1 pulse hits in nanoseconds, frying semiconductor junctions. The E2 phase follows like a lightning surge. The E3 phase is a slow geomagnetic disturbance that destroys transformers and long-line infrastructure. Most consumer electronics die in E1. That includes the radio sitting on your kitchen counter.
Here's the part most guides miss: the radio itself isn't always the first casualty. Antennas act as collection points for EMP energy and can funnel destructive current directly into your transceiver — even a hardened one — if they're connected at the time of the event. Disconnecting antennas and grounding them before storing backup equipment is as important as the Faraday cage itself.
In terms of radio types, analog radios have a real survival edge over digital ones. Digital signal processing (DSP) chips, software-defined radios, and microprocessor-controlled rigs have far more semiconductor exposure than older analog designs. Tube-based radios — if you can find and maintain them — are nearly immune to E1 effects entirely.
Practical takeaway: Store at least one simple, analog-priority backup radio in a Faraday cage with its antenna disconnected. That's your insurance policy.
Choosing the Right HAM Radio for a Grid-Down World
The frequency band you operate on determines your effective range after a collapse. This isn't marketing — it's physics. Here's how the three main bands break down for preppers:
- HF (High Frequency, 3–30 MHz): Long-range communication via ionospheric skip. With the right antenna and conditions, you can reach 500 to 3,000+ miles. This is your regional and national communication layer. Requires a General or Extra class license to transmit on most segments.
- VHF (Very High Frequency, 30–300 MHz): Line-of-sight communication, typically 5–50 miles depending on terrain and antenna height. Works well with repeaters. The 2-meter band (144–148 MHz) is the most active in most U.S. regions.
- UHF (Ultra High Frequency, 300 MHz–3 GHz): Shorter range than VHF but better penetration through buildings. The 70cm band (420–450 MHz) is commonly used for local tactical communications. Dual-band VHF/UHF handhelds are the most practical starting point.
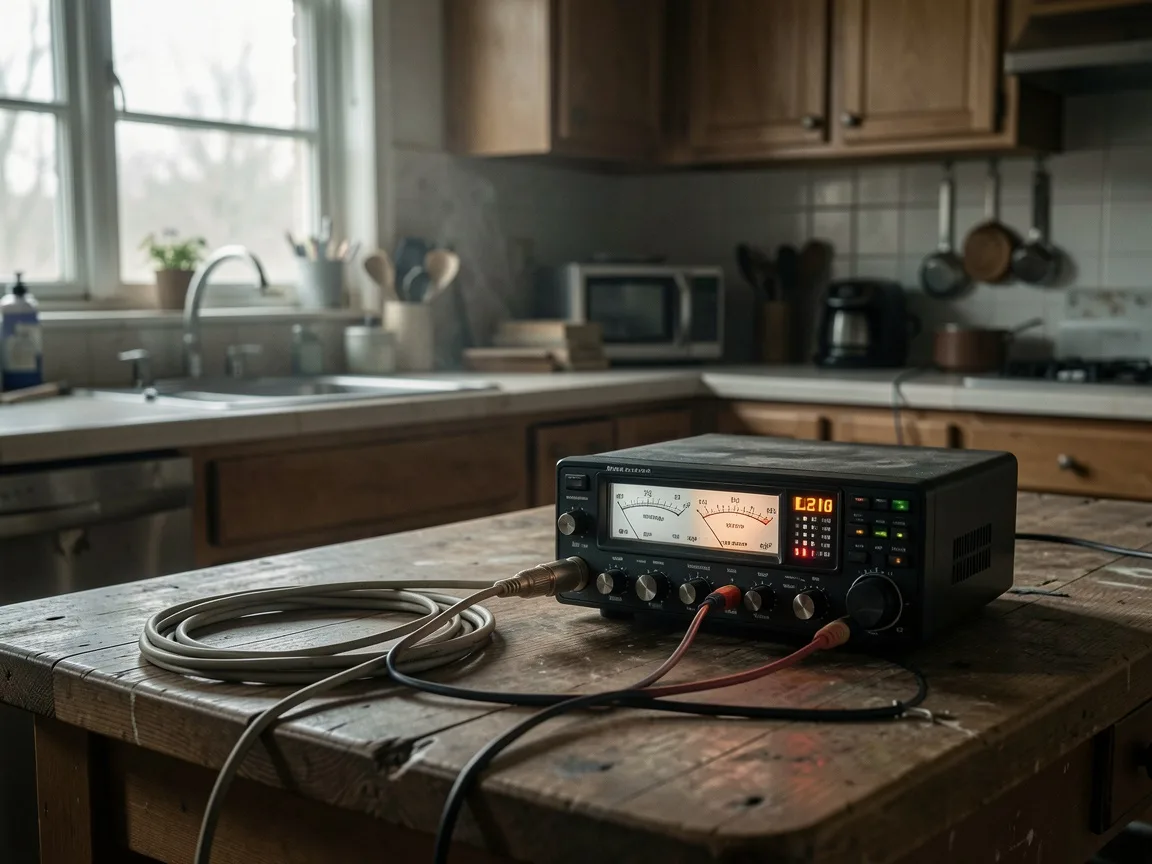
For a budget-conscious prepper, the $25–$35 Baofeng UV-5R tier of dual-band handhelds gives you an entry point, but don't bet your survival on a single unit. At the $150–$300 range, you get into Yaesu and Kenwood handhelds with better receiver sensitivity and build quality — a meaningful difference when you're pulling weak signals in poor conditions. For a base HF station, budget $400–$800 for a used Icom or Yaesu HF transceiver. Buy used, test thoroughly, then store a backup in your Faraday cage.
Power consumption matters more than most beginners realize. A typical handheld draws 1–2 watts on receive and spikes to 5–8 watts on transmit. A base HF rig can pull 20–100 watts on transmit. Size your battery bank and solar accordingly — and track your duty cycle. You won't be transmitting continuously. Plan for roughly 10–15% transmit time in a net-check-in scenario, and your power budget becomes very manageable.
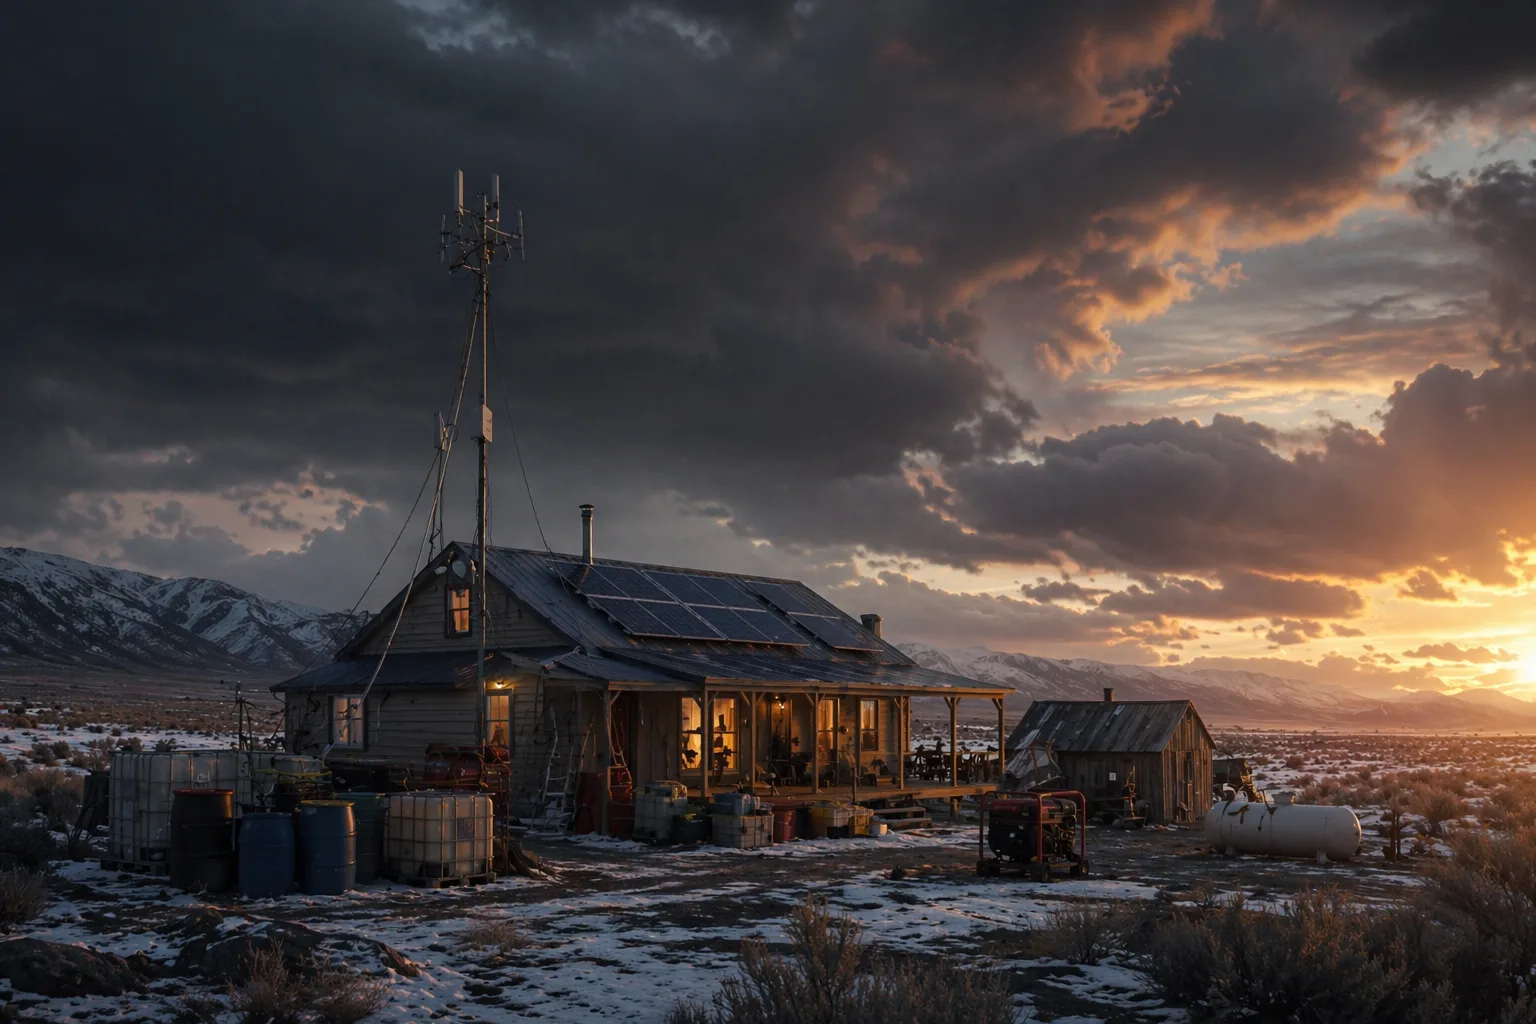
Building an EMP-Hardened Home Radio Station
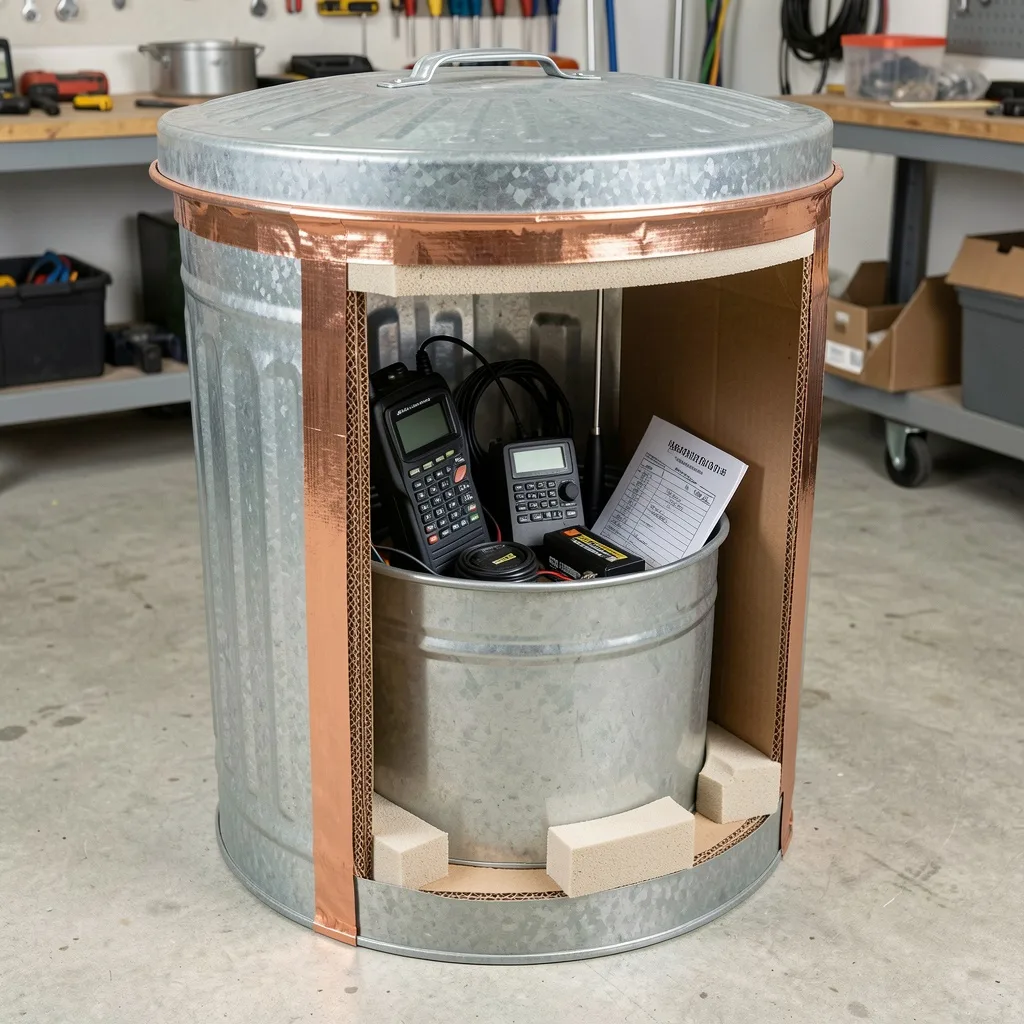
Protection comes before operation. If your radio doesn't survive the initial event, nothing else in this guide matters. A properly built Faraday cage blocks the E1 pulse by creating a conductive shell that distributes and dissipates the induced current before it reaches your equipment. Our detailed guide on Faraday cage construction covers the full build process, but here are the principles specific to radio equipment:
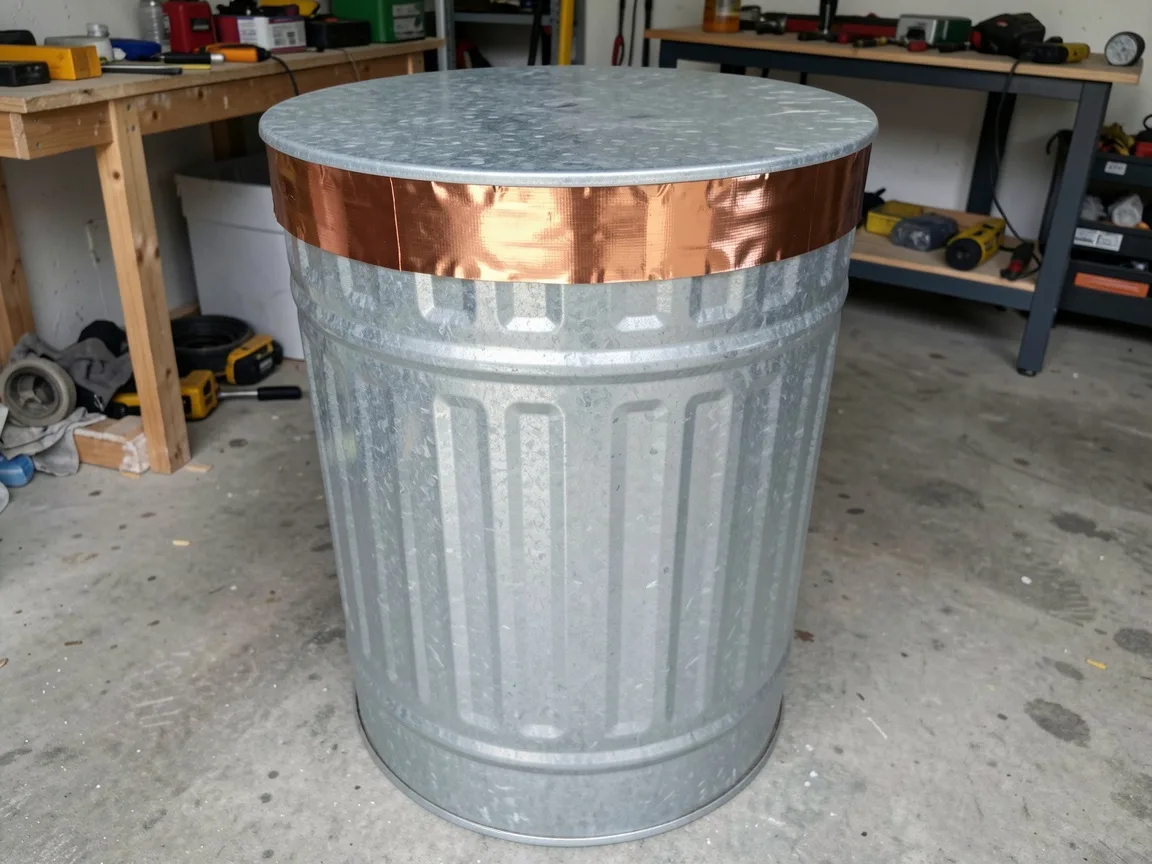
- Use nested shielding. A metal ammunition can inside a larger galvanized trash can, with the inner can insulated from the outer with cardboard or foam, gives you two layers of attenuation.
- Seal all gaps. EMP energy exploits apertures. Lid seams on trash cans are a common failure point. Use copper tape or conductive gasket material around the lid contact surface.
- Store complete kits. Your Faraday cage should contain not just the radio but also its power cable, a spare battery, a basic antenna, a copy of key frequencies written on paper, and a copy of your license. When you need it, you need all of it.
- Keep it disconnected. Nothing stored in a Faraday cage should have an antenna, power line, or cable running outside the cage. That wire becomes an antenna for EMP energy and defeats the protection entirely.
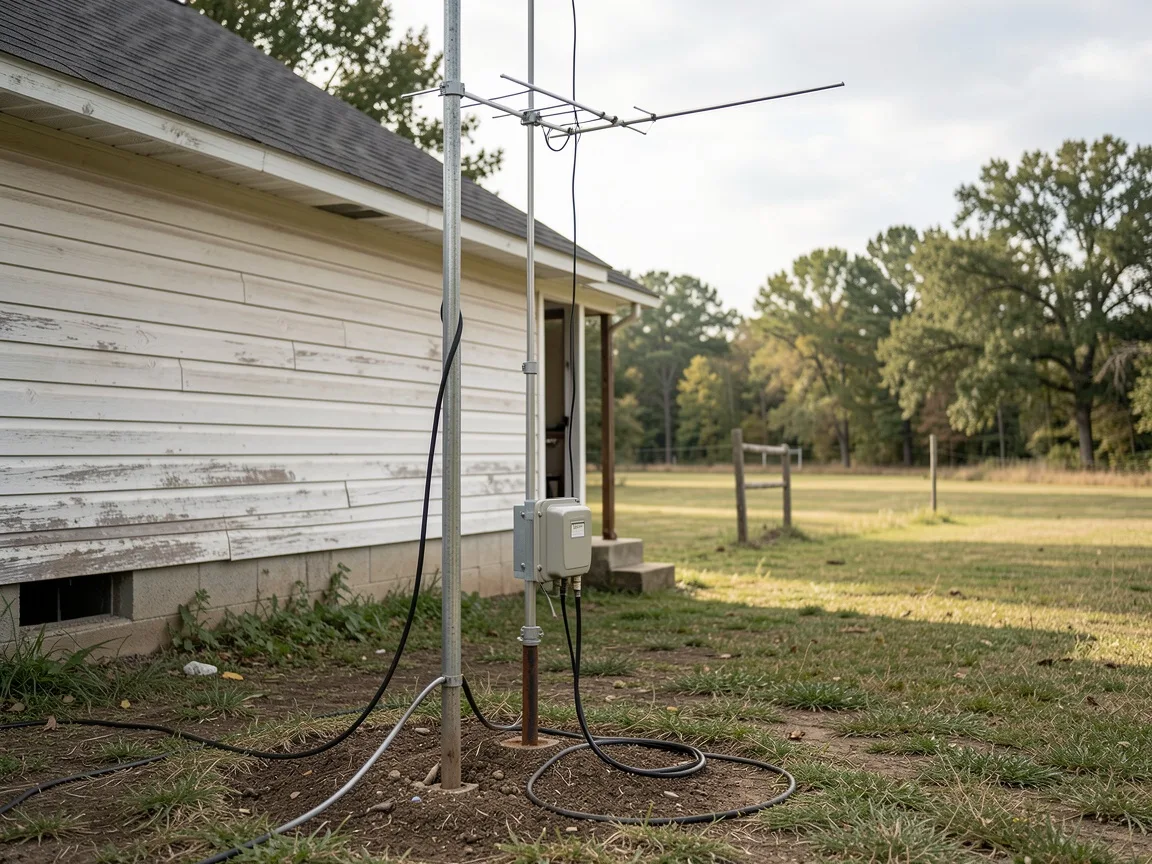
For antenna placement on your operating station, height and grounding are your two variables. A dipole at 30 feet will dramatically outperform the same antenna at 10 feet on HF. But during a grid-down scenario, your antenna is also a lightning and surge collection point — install a quality surge arrestor between your feedline and radio, and establish a ground rod connection at the antenna base. This won't stop E1, but it helps with E2 and lightning, which you'll still face during a prolonged grid-down period.
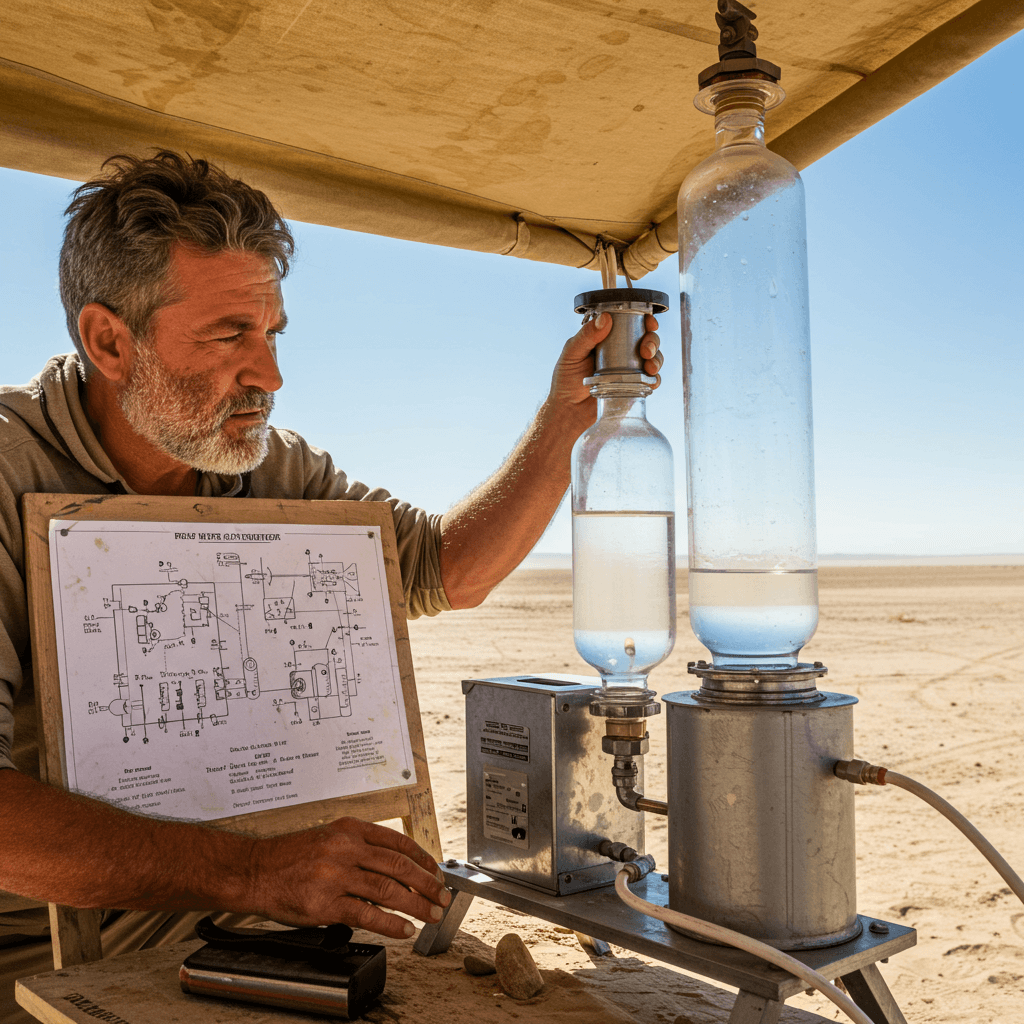
Power redundancy is non-negotiable. Build a layered system: a solar panel array feeding a charge controller, into a deep-cycle AGM or LiFePO4 battery bank, with a hand-crank generator as tertiary backup. Our breakdown of redundant power systems details sizing and component selection. For radio specifically, a 100Ah LiFePO4 battery paired with a 100-watt solar panel will run a base HF station through a 30-day grid-down scenario with disciplined operation.
Licensing, Legality, and What Actually Matters in an Emergency
Get licensed before you need to transmit. This is not bureaucratic advice — it's operational advice. Operating on HAM frequencies without a license when the grid is up means you're broadcasting blind: you don't know the local net schedules, repeater access tones, or community protocols that licensed operators in your area have spent years building. You can't participate in drills. You can't build relationships. You arrive at the emergency as a stranger.
The FCC Technician license is accessible to anyone. The exam is 35 multiple-choice questions. Study resources like HamStudy.org and the ARRL Technician manual can get most people test-ready in two to four weeks with consistent daily study. The Technician license opens up all VHF and UHF frequencies — your local and regional communication layer. To access HF for long-range communication, you'll need the General class exam, which is a logical next step six to twelve months later.
Regarding post-collapse legality, FCC Part 97 already contains emergency provisions. Rule 97.403 explicitly permits unlicensed operation in cases where the immediate safety of human life or the protection of property is at stake. In a genuine SHTF scenario — declared national emergency, widespread infrastructure collapse — enforcement of licensing rules is not a realistic priority for federal regulators. That said, this provision is for genuine emergencies, not "the grid's been down for two hours, and I want to check in." Know the rule, respect the intent.
Frequency allocation overview for preppers to know:
- 146.520 MHz: National 2-meter simplex calling frequency. This is the first place to monitor in a local emergency.
- 7.200–7.300 MHz (40 meters): The most reliable regional HF band, especially at night. Widely used by prepper networks and emergency nets.
- 14.225 MHz (20 meters): Long-range daytime HF communication, continental and intercontinental range.
- 3.818 MHz (75/80 meters): ARRL National Traffic System nets and regional communication, effective at night over hundreds of miles.
Frequencies and Networks That Survive Collapse
The grid goes dark — now what? Your first monitoring priority is simplex frequencies, not repeaters. Repeaters depend on commercial power or generator backup that typically runs for 24–72 hours. After that, repeaters that aren't solar-powered go silent. Plan for a repeater-dependent network to fail within three days, and build your communication plan around that timeline. The communication failures during initial collapse happen faster than most people expect.
The practical takeaway: program 146.520 and 446.000 into every radio in your group. These are your first-contact frequencies. Establish a pre-arranged schedule with your network — for example, check-ins at 0700 and 1900 local time — so you're not burning battery monitoring continuously. Range expectations on simplex VHF with a handheld radio are typically 2–8 miles in terrain, up to 20–30 miles from an elevated fixed position with a quality antenna.
Communication Protocols and OPSEC for SHTF Scenarios
Having a radio is worthless if your network doesn't know how to use it. Establish your group communication protocols now, not during the event. Every member of your prepper network should have a written copy of: your scheduled net times, your primary and backup frequencies, your call signs or code names, and a simple authentication challenge to confirm identity on air.
Keep transmissions short and information-dense. Every second you're transmitting, you're broadcasting your presence and location to anyone monitoring. In a true grid-down scenario with elevated tensions, that's a security consideration, not just an etiquette one. Use plain language for emergency information — this isn't the time for cryptic codes that create confusion — but avoid broadcasting logistical details about your supplies, location, or group size in open nets.
Voice vs. digital modes: Voice is faster to set up and easier for group members without technical backgrounds. Digital modes like JS8Call and Winlink provide store-and-forward messaging that can automatically relay through other stations, and they operate at much lower signal levels than voice, enabling longer range with the same equipment. JS8Call in particular has been adopted by a growing number of prepper networks for exactly this reason. If you have HF capability, learning a single digital mode is worth the time investment.
For layered redundancy, don't rely solely on HAM. Here's how complementary systems stack:
- GMRS (General Mobile Radio Service): Requires a $35 FCC license covering your entire household. Range similar to VHF HAM simplex. Good for family/neighborhood coordination. No exam required.
- CB Radio: No license required. 40 channels in the 27 MHz band. Range typically 1–5 miles with a mobile antenna. Widely owned and monitored, especially in rural areas. Channel 9 is the monitored emergency channel.
- LoRa/Mesh Networks: Low-power, long-range digital radio technology. Devices like Meshtastic nodes can form self-healing mesh networks spanning several miles without infrastructure. Excellent for text-based coordination within a prepper group. Not useful for reaching strangers or first responders.
- Hardwired telephone: If POTS (plain old telephone service) copper lines survive — which they sometimes do in rural areas after grid events — a basic corded phone with no power supply of its own may still work. Keep one.
Build Your Network Before You Need It
The single most important thing I tell every client: the radio is the easy part. The network is hard. Equipment sits on a shelf. Networks require relationships, drills, and shared protocols built over months and years. A $300 HF rig stored in a Faraday cage is worthless if you've never made contact with anyone on 40 meters and have no idea who's monitoring in your region.
Start with your license. Study now — HamStudy.org has free practice exams and tracks your readiness by question pool. Schedule your Technician exam within 60 days. Get on the air and participate in your local emergency net. Find your regional ARES or RACES group. These are the people who will be the backbone of HAM communication during a real emergency, and being part of that network before the event means you're an asset instead of a stranger calling blind on 146.520.
Then build your kit. One protected radio in a Faraday cage. One operating station with redundant power. One written frequency list your whole household knows. That's the foundation. Everything else is optimization.
Communication planning is the layer of preparedness that most people skip because it feels abstract — right up until the moment they need it and have nothing. Don't be that person. The grid failing is not the threat. Being isolated when it happens is.